Dormer Valley Flashing Metal Roof

Pin On Ideas For The House

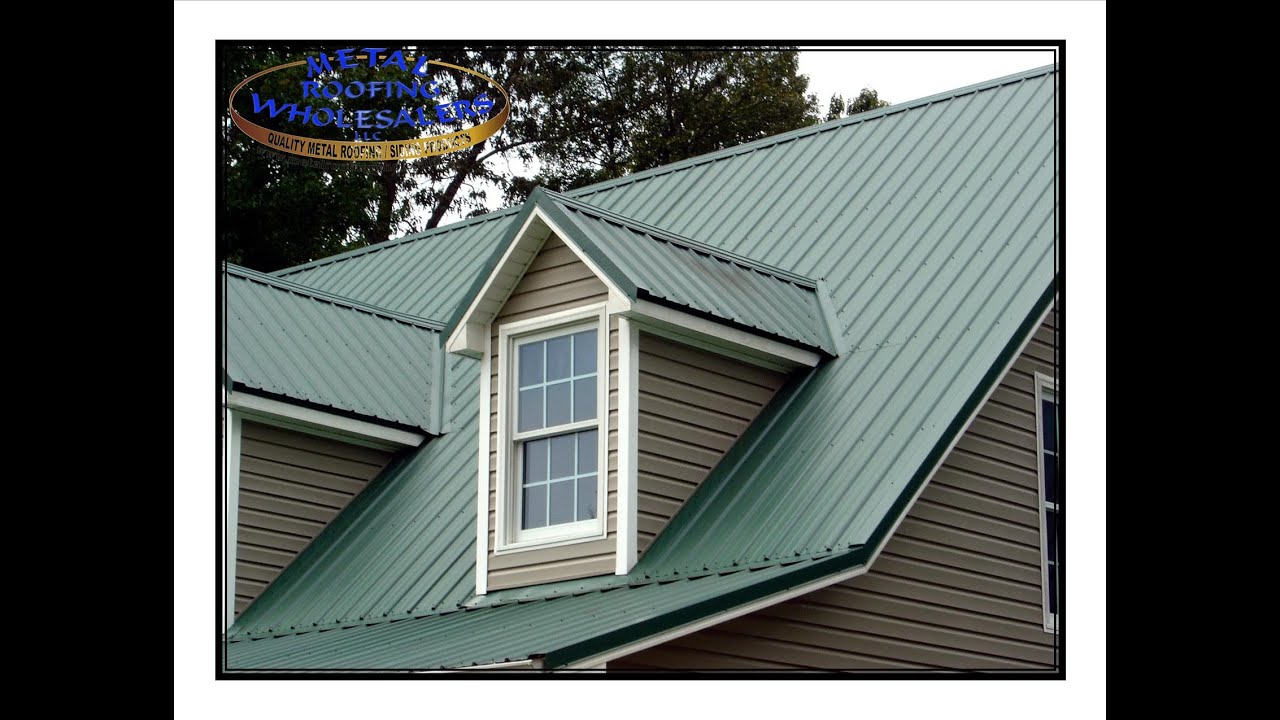
Dormer Valley Amazing P Installing Metal Roofing Around Dormers Big Metal Roof Panels Metal Roof Panels Metal Roof Roof Panels
Pin On Front Porch

Standing Seam Roofing Diagram Roof Commander Com Diy Metal Roof Roofing Roof Installation

Roof Valley Construction Drawings Dormer Roof Carpentry And Google Search On Pinterest Roof Truss Design Roof Architecture Roof Construction

Pin On Diy Outdoor Projects

Lap successive sheets of metal flashing a minimum of 12 inches and seal laps.
Dormer valley flashing metal roof.

How To Flash Metal Roofing Systems Valley Installation Metal Roofing Systems Metal Roof Roofing Systems

Radius Seamed Valley To A Copper Barrel Roof Dormer With An Ornamental Cresting Copper Roof Diy Exterior Dormer Roof

How To Install A Metal Roof Valley For Union S Masterrib Panel Metal Roof Roof Installation Corrugated Metal Roof

Pin On Exterior Paint And Roof Ideas

Formation Of A Pleated Valley Zinc Roof Metal Roof Wall Cladding

Pin On Construction

Pin On Roof Over Hang

Continuous Round Metal Roof Valley Fine Metal Roof Tech Copper Metal Roof Metal Roof Roof Cladding

Raleigh Roofing And Restoration Custom Copper Copper Roof Aluminum Roof Copper In Architecture

Glenn Smith Roofing Inc Best Roofing Contractor Simi Valley More Than 30 Years Experience Glenn Smith Roofing Is A Fam Metal Roof Roof Cladding Roof Design

How Should The Gutters Be Installed On A Huge Gable Dormer House Gutters Dormers Gutters

Pin On Berridge Manufacturing Videos
Pin On Building Science

Shed Options Still Valley Sheds Nj Shed Dormer Craftsman Porch Dormers

Roof Repairs Brisbane Roof Repair Diy Roof Installation Home Repairs

Pin On Construction

Image Result For New Asphalt Roof With Metal Valleys Asphalt Roof Roof Garden Tools

Pin On Roofing
Https Encrypted Tbn0 Gstatic Com Images Q Tbn 3aand9gcq8ce1m6389cz4dtbkik471hclxehko8xfbjw 41i Nzdex4vxe Usqp Cau

Diy Product Selector Diy Waterproofing Roof Flashing Diy Roof Tiles

Metal Roof And Siding Inspiration In 2020 Metal Roof Metal Walls Metallic Paint

Architecture Design Handbook Flashings And Copings Dormers Dormers Architecture Roof Shingles

Details That Matter On Asphalt Shingle Roofs Roof Installation Roof Shingles Fibreglass Roof

Horizontal Roof Valley Roof Roof Trusses Roof Truss Design
Source : pinterest.com
